Photography Tips in bhairahawa
Photography is the science, art, application and practice of creating durable images by recording light or other electromagnetic radiation, either electronically by means of an image sensor, or chemically by means of a light-sensitive material such as photographic film. Typically, a lens is used to focus the light reflected or emitted from objects into a real image on the light-sensitive surface inside a camera during a timed exposure. With an electronic image sensor, this produces an electrical charge at each pixel, which is electronically processed and stored in a digital image file for subsequent display or processing. The result with photographic emulsion is an invisible latent image, which is later chemically "developed" into a visible image, either negative or positive depending on the purpose of the photographic material and the method of processing. A negative image on film is traditionally used to photographically create a positive image on a paper base, known as a print, either by using an enlarger or by contact printing.
camera
A camera is an optical instrument for recording or capturing images, which may be stored locally, transmitted to another location, or both. The images may be individual still photographs or sequences of images constituting videos or movies. The camera is a remote sensing device as it senses subjects without any contact . The word camera comes from camera obscura, which means "dark chamber" and is the Latin name of the original device for projecting an image of external reality onto a flat surface. The modern photographic camera evolved from the camera obscura.
bhairahawa photography
Having DSLR at home doesn't mean that you are a perfect photographer you should have to know the rules & techniques about photography so connect with us .We are here to provide the tips and techniques about photography.
|
The 10 rules of perfect photo composition
Poor photo composition can make a fantastic subject look pretty dull, but a well-framed scene can create a wonderful image from the most ordinary of situations.
With that in mind, we've picked our top 10 photo composition 'rules' to show you how to transform your images.
Don't feel that you've got to remember every one of these laws and apply them to each photo you take. Instead, spend a little time practising each one in turn and they'll become second nature to you when you're out with your camera. You'll soon learn to spot situations where the different rules can be applied to best effect.
It doesn't have to be complicatedPhoto composition doesn't have to be complicated. There are all sorts of theories about the 'Rule of Thirds' and more complex 'Golden Mean', for example. But if you pay too much attention to strict formulae, your photos will lose any kind of spontaneity.
In the real world, you'll be working with a wide range of subjects and scenes, and this requires a much more open-minded approach. What works for one photo won't necessarily work for another.
The key thing is to understand how all the decisions you make about composition can affect the way a shot looks and how people perceive your photos. The way you frame a shot, choose a focal length or position a person can make all the difference.
Technical know-how is very important in photography, of course, and even in some aspects of photo composition. But to take great shots you need visual knowledge too. Here are 10 key things to look out for…
Tip 1. Manual focusSwitch off autofocus when you're taking macro photos. Depth of field (DOF) can be measured in millimetres when you're shooting close-up details, so accurate focusing is critical.
Manual focusing is made easy with your DSLR's Live View. By magnifying the area you want to focus on on the Live View screen and turning the lens's focus ring, you can position the point of focus precisely.
Go easy with the focus ring though, as the difference between razor-sharp and just sharp enough is slight. You'll also need to use a tripod, as even small movements of the camera can throw the focus completely off.
Tip 2. Choosing the best apertureTo increase the depth of field - the area in front of and behind the subject that you're focusing on that appears acceptably sharp - you'll need to use small apertures.
Switch to Aperture Priority mode, as this will enable you to manually set a specific aperture. For small apertures, dial in large f-numbers, such as f/16 and f/22.
though, as this will lead to soft pictures as a result of diffraction (where the light is bent out of shape by the aperture blades in the lens).
If you can't get everything you want sharp at a single aperture setting, try using the focus stacking technique in Photoshop to increase the depth of field.
Tip 3. Using depth of field previewThe image you see through an optical viewfinder is always shown at the largest aperture available on the lens. Although this gives the brightest available picture, it makes it impossible to judge the depth of field at smaller aperture settings.
To be able to see what will look sharp and what will look blurred, press your camera's depth of field preview button.
This will stop down the lens to what's known as the working aperture. The image will get darker, so you'll need to let your eyes become accustomed to the change.
Depth of field preview also works in Live View. When combined with the Live View magnification control that allows you to zoom in and check focus on specific areas of the image, it becomes even more useful than checking DOF through the viewfinder.
Tip 4. Parallel camera trickTo make the most of what little depth of field there is, position your DSLR so that the back of the camera is parallel with the subject.
This is especially important when you're shooting frame-filling shots of flat subjects with strong patterns, such as leaf or feather. If part of the image is blurred it will ruin the impact of the photo.
Tip 5. Break the rules
You don't have to use small apertures to make an impact with macro photography - using the largest apertures available on your lens is just as an effective technique.
You'll need to be spot-on with your focusing though, as the wafer-thin depth of field leaves little room for error.
Using wide apertures and selective focusing to sandwich a sharp subject between a blurred foreground and background is a popular food photography technique, while completely defocusing a lens can lead to abstract blurs and beautiful bokeh - a trick that's often used in contemporary flower photography.
Tip 6. Sharper photos
Small apertures reduce the amount of light passing through the lens, and this can lead to slow shutter speeds and long exposure times.
Any slight movement - even the vibration caused by the mirror moving inside the camera - will increase the risk of blurred pictures.
To combat this, activate your camera's Mirror Lock-up function, or shoot using Live View (where the mirror is automatically locked up) and trigger the shutter using a remote release or the camera's self-timer.
Increase the ISO to get a faster shutter speed if necessary, although you'll get the cleanest looking shots below ISO 1600.
Tip 7. Make a DIY a reflectorAdvertisementIt can be challenging to ensure a small subject is evenly lit, particularly if you're using a shorter macro lens to take life-size images - the camera will need to be very close to the subject and this can limit your creative lighting options.
A simple reflector goes a long way to solving this problem. You can make your own DIY reflector using a piece of aluminium foil: screw into into a ball and then flatten it out again to create a more diffuse quality of light.
Position it on the shadow side of a subject to reveal previously hidden details.
Tip 8. Using longer macro lensesMacro lenses with longer focal lengths offer the same 1:1 magnification as those with shorter focal lengths, but do so at a greater distance from the subject.
Because you don't need to be as close, you get more room to position a flashgun or other light source near to the subject.
The extended working room also makes longer macro lenses a better choice for bug and insect photography, as you're less likely to disturb them.
Tip 9. Start early
If you're planning on doing some outdoor macro photography, set your alarm clock. It's worth getting up early, not just because that's when the light is invariably at is best, but because wind is usually at its weakest at this time of day.
Wind is the enemy of the garden photographer, as the combination of a slight breeze and the slow shutter speeds typically required for close-ups can lead to blurred images of flowers, plants, spider webs and other delicate objects.
For long-stemmed flowers and plants try using a specialist macro support . These are essentially clamps on the end of a small stand that can be used to hold a subject in place.
A DIY solution is to tie the stem to a cane that you've wedged into the ground next to the plant.
Tip 10. Create your own macro backgroundsAdvertisementThe quality of the background can make or break a macro photo. Macro lenses with longer focal lengths will enable you to restrict what makes it into the background of a picture, but distracting colors and out-of-focus highlights might still be unavoidable.
Build up your own collection of backgrounds that you can substitute when necessary.
Sheets of colored card, matte prints of blurred natural backgrounds you've previously taken - hell, even an item of clothing could provide a soft, even background that helps the subject stand out.
The basic

Angle of view is a measure of how much of a scene or subject a lens can take in. Expressed in degrees, the angle of view can be measured horizontally, vertically or diagonally across an image.
It's the focal length that's key: lenses with shorter focal lengths are able to capture more of a scene in a single shot, while longer focal lengths offer a much narrower view. You can, of course, move your camera further away in order to bring more of a scene in to the picture or move closer to produce a tighter shot – or stay where you are and adjust the setting on a zoom lens – but the angle of view for the chosen focal length doesn't change.
What does change is the relationship between the objects in the picture if you physically move closer or further away. Step forward with a wide lens and you'll continue to capture more of the background relative to the subject of the photo. A long lens will continue to take in a much smaller portion of the background relative to the subject as you move away.
Focal length and angle of view When photographers talk about a lens' focal length, what they're really concerned about is the angle of view. This is because the angle of view determines how a scene can be framed and composed. Long lenses with focal lengths of 200mm, 300mm or 400mm and beyond offer narrow angles of view that make it easier to isolate objects within a wider scene.
The drawback to having an angle of view of just a few degrees is that it's equally easy to lose track of a subject, as a slight shift in the position of the camera can have a dramatic effect on which area is picked out by the lens. This problem is compounded if you're following a moving subject, as anyone who's tried photographing fast-flying birds up close through a 600mm lens will know Wide-angle lenses flip this problem on its head. Focal lengths in the region of 16-35mm are capable of sucking in a great deal of a scene in one photo, and consequently it's easier to initially frame the shot and to recompose quickly.
The downside of taking in an angle of view of almost 100 degrees is that it's easier for distractions to creep into the frame and it's more challenging to make an object stand out from all the 'noise'.
Basics about camera controls
Camera control is In all but certain specialized cameras, the process of obtaining a usable exposure must involve the use, manually or automatically, of a few controls to ensure the photograph is clear, sharp and well illuminated. The controls usually include but are not limited to the following:
ControlDescription
Focus The position of a viewed object or the adjustment of an optical device necessary to produce a clear image: in focus; out of focus.
Aperture : Adjustment of the lens opening measured as f-number, which controls the amount of light passing through the lens. Aperture also has an effect on depth of field and diffraction – the higher the f-number, the smaller the opening, the less light, the greater the depth of field, and the more the diffraction blur. The focal length divided by the f-number gives the effective aperture diameter.
Shutter speed: Adjustment of the speed (often expressed either as fractions of seconds or as an angle, with mechanical shutters) of the shutter to control the amount of time during which the imaging medium is exposed to light for each exposure. Shutter speed may be used to control the amount of light striking the image plane; 'faster' shutter speeds (that is, those of shorter duration) decrease both the amount of light and the amount of image blurring from motion of the subject or camera. The slower shutter speeds allow for long exposure shots that are done used to photograph images in very low light including the images of the night sky.
White balance: On digital cameras, electronic compensation for the color temperature associated with a given set of lighting conditions, ensuring that white light is registered as such on the imaging chip and therefore that the colors in the frame will appear natural. On mechanical, film-based cameras, this function is served by the operator's choice of film stock or with color correction filters. In addition to using white balance to register natural coloration of the image, photographers may employ white balance to aesthetic end, for example, white balancing to a blue object in order to obtain a warm color temperature.
Metering : Measurement of exposure so that highlights and shadows are exposed according to the photographer's wishes. Many modern cameras meter and set exposure automatically. Before automatic exposure, correct exposure was accomplished with the use of a separate light metering device or by the photographer's knowledge and experience of gauging correct settings. To translate the amount of light into a usable aperture and shutter speed, the meter needs to adjust for the sensitivity of the film or sensor to light. This is done by setting the "film speed" or ISO sensitivity into the meter.
Film speed Traditionally used to "tell the camera" the film speed of the selected film on film cameras, film speed numbers are employed on modern digital cameras as an indication of the system's gain from light to numerical output and to control the automatic exposure system. Film speed is usually measured via the ISO system. The higher the film speed number the greater the film sensitivity to light, whereas with a lower number, the film is less sensitive to light. A correct combination of film speed, aperture, and shutter speed leads to an image that is neither too dark nor too light, hence it is 'correctly exposed', indicated by a centered meter.
Auto focus point: On some cameras, the selection of a point in the imaging frame upon which the auto-focus system will attempt to focus. Many Single-lens reflex cameras (SLR) feature multiple auto-focus points in the viewfinder.Many other elements of the imaging device itself may have a pronounced effect on the quality and aesthetic effect of a given photograph. Among them are:
Cameras that capture many images in sequence are known as movie cameras or as ciné cameras in Europe; those designed for single images are still cameras.
However these categories overlap as still cameras are often used to capture moving images in special effects work and many modern cameras can quickly switch between still and motion recording modes.
ControlDescription
Focus The position of a viewed object or the adjustment of an optical device necessary to produce a clear image: in focus; out of focus.
Aperture : Adjustment of the lens opening measured as f-number, which controls the amount of light passing through the lens. Aperture also has an effect on depth of field and diffraction – the higher the f-number, the smaller the opening, the less light, the greater the depth of field, and the more the diffraction blur. The focal length divided by the f-number gives the effective aperture diameter.
Shutter speed: Adjustment of the speed (often expressed either as fractions of seconds or as an angle, with mechanical shutters) of the shutter to control the amount of time during which the imaging medium is exposed to light for each exposure. Shutter speed may be used to control the amount of light striking the image plane; 'faster' shutter speeds (that is, those of shorter duration) decrease both the amount of light and the amount of image blurring from motion of the subject or camera. The slower shutter speeds allow for long exposure shots that are done used to photograph images in very low light including the images of the night sky.
White balance: On digital cameras, electronic compensation for the color temperature associated with a given set of lighting conditions, ensuring that white light is registered as such on the imaging chip and therefore that the colors in the frame will appear natural. On mechanical, film-based cameras, this function is served by the operator's choice of film stock or with color correction filters. In addition to using white balance to register natural coloration of the image, photographers may employ white balance to aesthetic end, for example, white balancing to a blue object in order to obtain a warm color temperature.
Metering : Measurement of exposure so that highlights and shadows are exposed according to the photographer's wishes. Many modern cameras meter and set exposure automatically. Before automatic exposure, correct exposure was accomplished with the use of a separate light metering device or by the photographer's knowledge and experience of gauging correct settings. To translate the amount of light into a usable aperture and shutter speed, the meter needs to adjust for the sensitivity of the film or sensor to light. This is done by setting the "film speed" or ISO sensitivity into the meter.
Film speed Traditionally used to "tell the camera" the film speed of the selected film on film cameras, film speed numbers are employed on modern digital cameras as an indication of the system's gain from light to numerical output and to control the automatic exposure system. Film speed is usually measured via the ISO system. The higher the film speed number the greater the film sensitivity to light, whereas with a lower number, the film is less sensitive to light. A correct combination of film speed, aperture, and shutter speed leads to an image that is neither too dark nor too light, hence it is 'correctly exposed', indicated by a centered meter.
Auto focus point: On some cameras, the selection of a point in the imaging frame upon which the auto-focus system will attempt to focus. Many Single-lens reflex cameras (SLR) feature multiple auto-focus points in the viewfinder.Many other elements of the imaging device itself may have a pronounced effect on the quality and aesthetic effect of a given photograph. Among them are:
- Focal length and type of lens (normal, long focus, wide angle, telephoto, macro, fisheye, or zoom)
- Filters placed between the subject and the light recording material, either in front of or behind the lens
- Inherent sensitivity of the medium to light intensity and color/wavelengths.
- The nature of the light recording material, for example, its resolution as measured in pixels or grains of silver halide.
Cameras that capture many images in sequence are known as movie cameras or as ciné cameras in Europe; those designed for single images are still cameras.
However these categories overlap as still cameras are often used to capture moving images in special effects work and many modern cameras can quickly switch between still and motion recording modes.
Bhairahawa, meudihawa, pakliihawa
|
meudihawa, paklihawa, bhairahawa
|
|
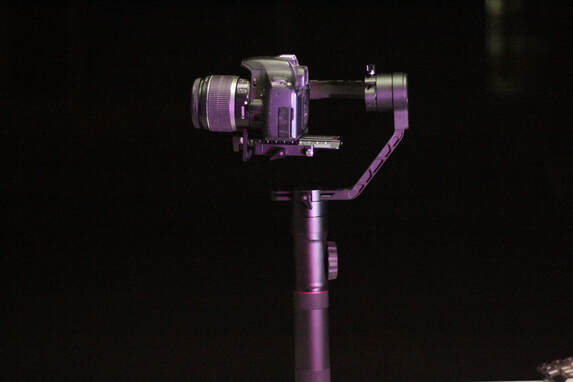
Bhairahawa photography tips and techniques uses the highest quality camera gear and understands the technology behind it.
|
bhairahawa photography -meudihawa,paklihawa
|
anurag sharma bhairahawa , meudihawa photographer
|
anurag sharma bhairahawa -meudihawa , paklihawa
|

|
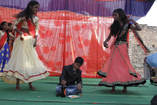
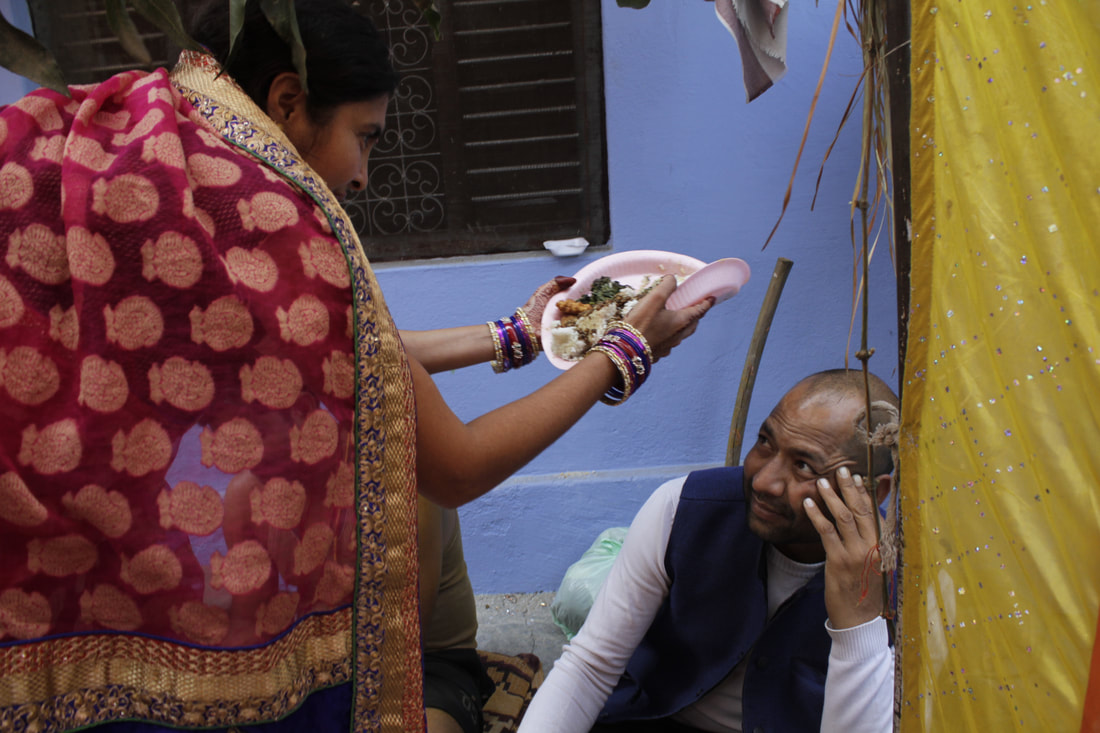
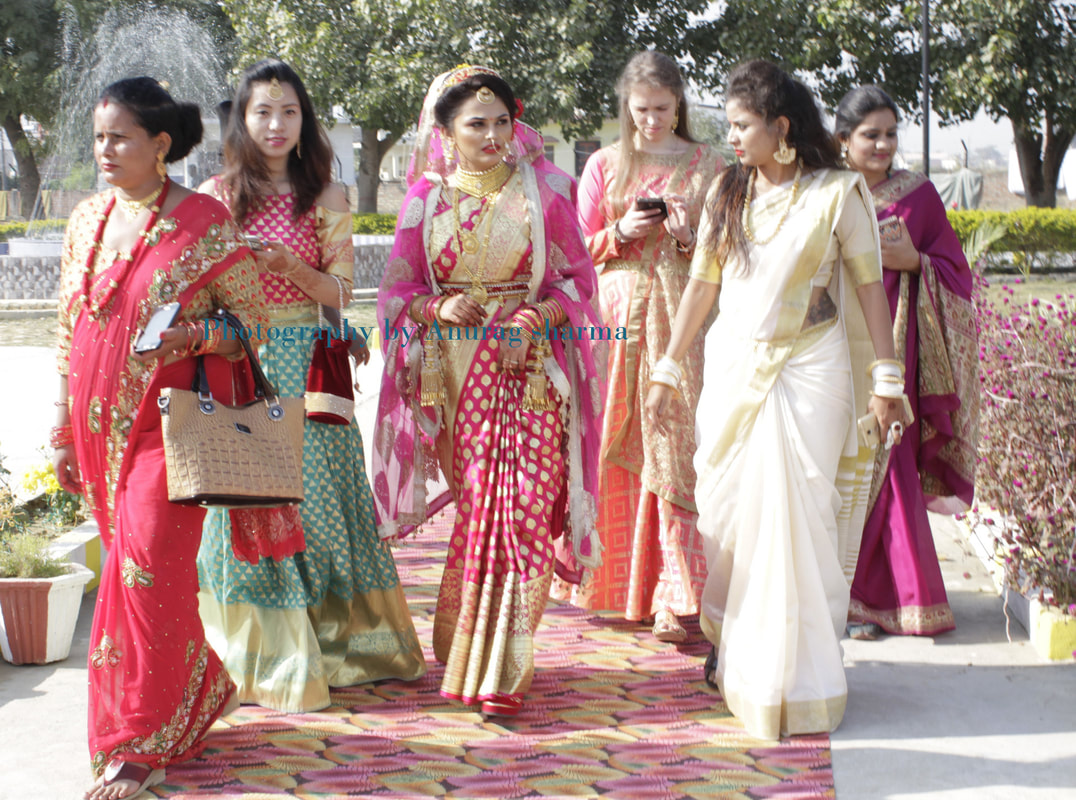
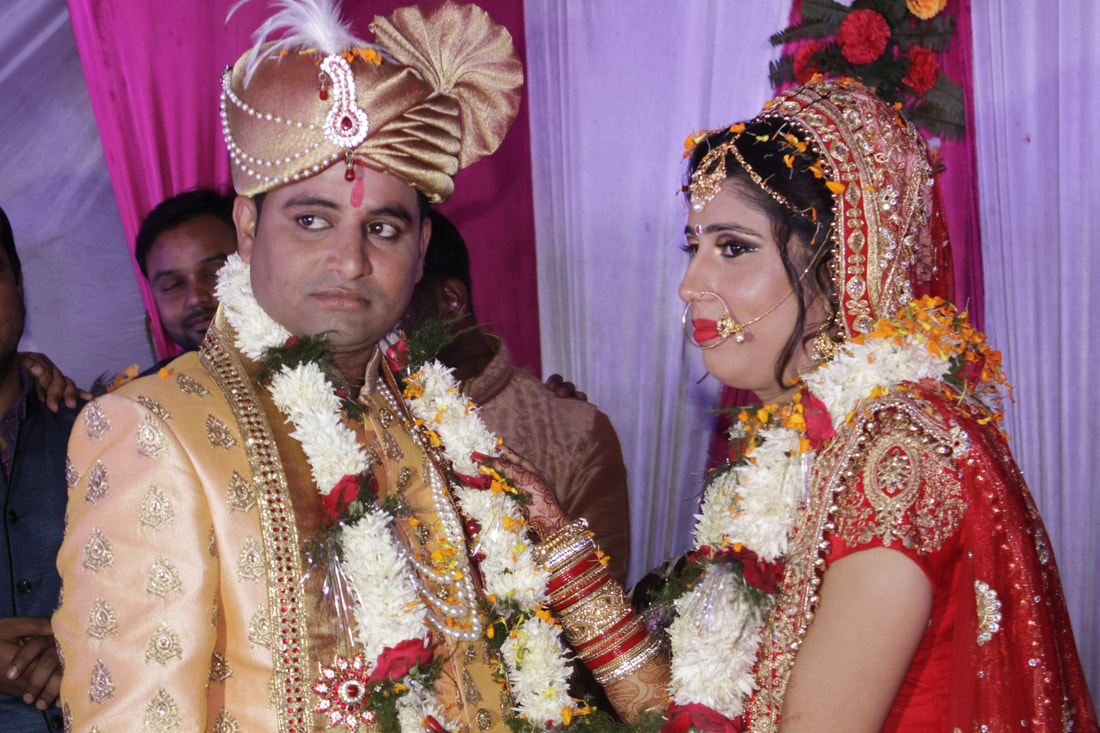
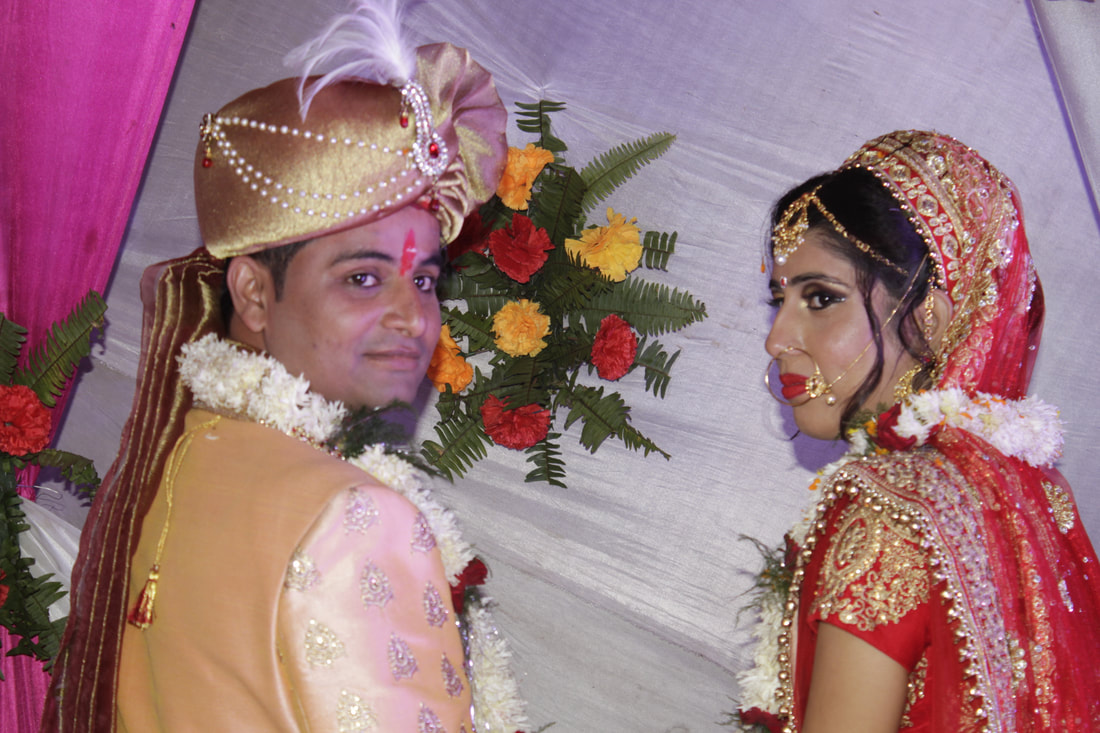
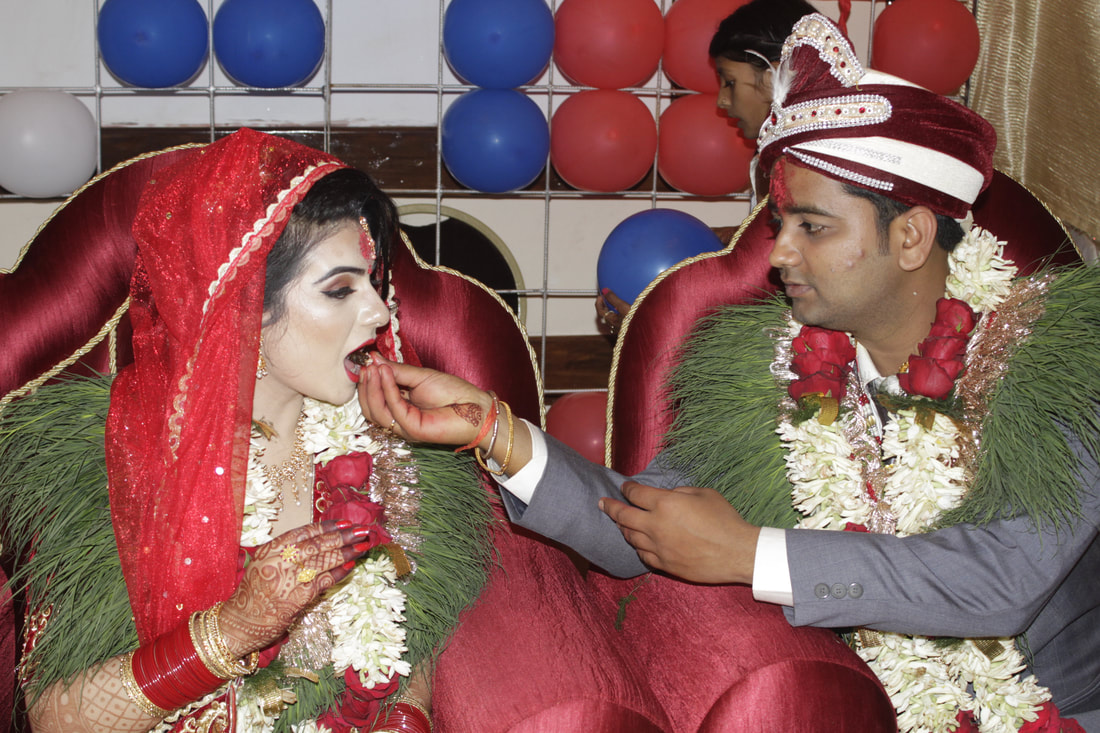
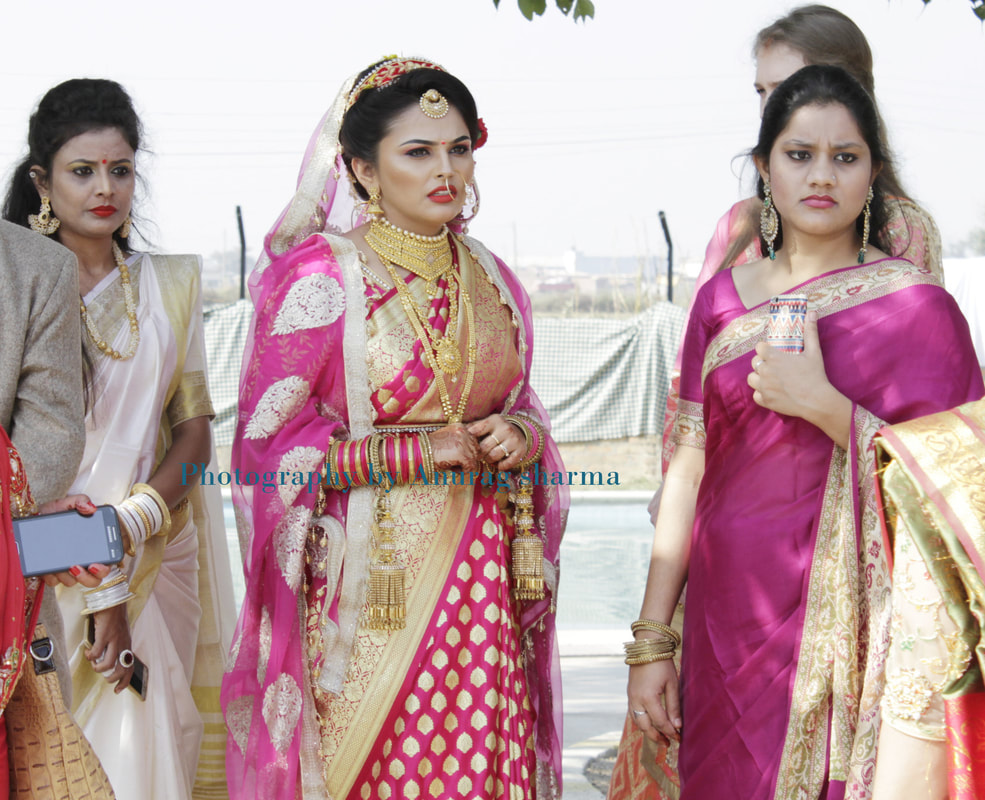
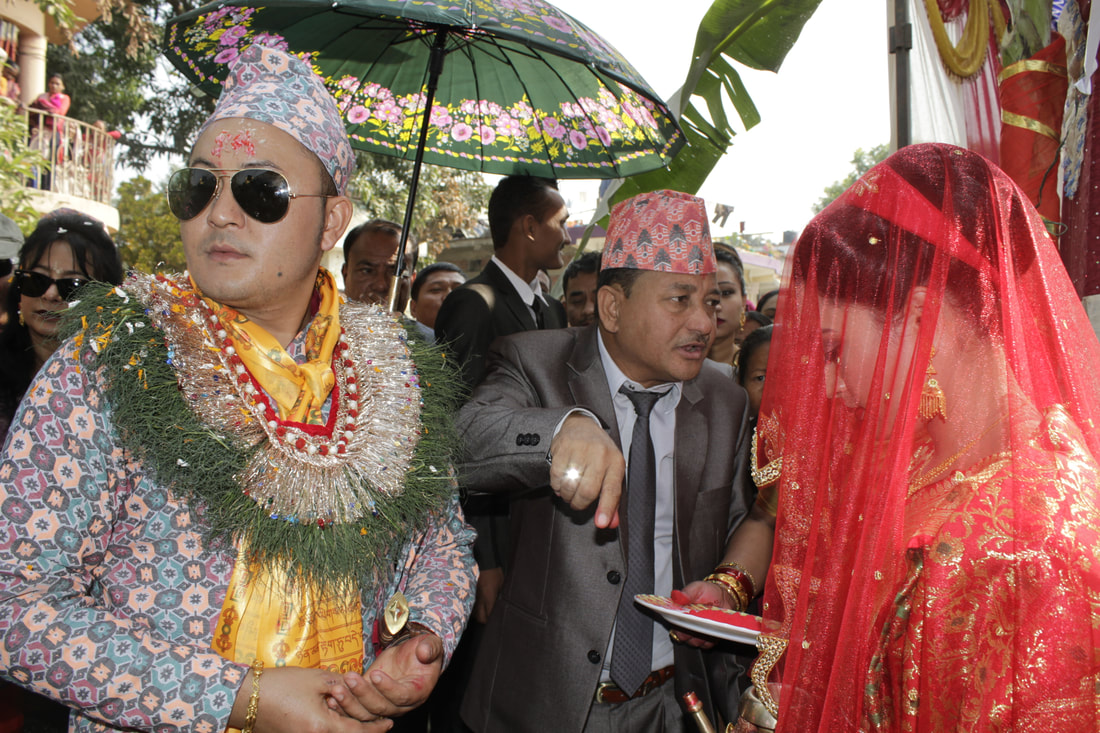
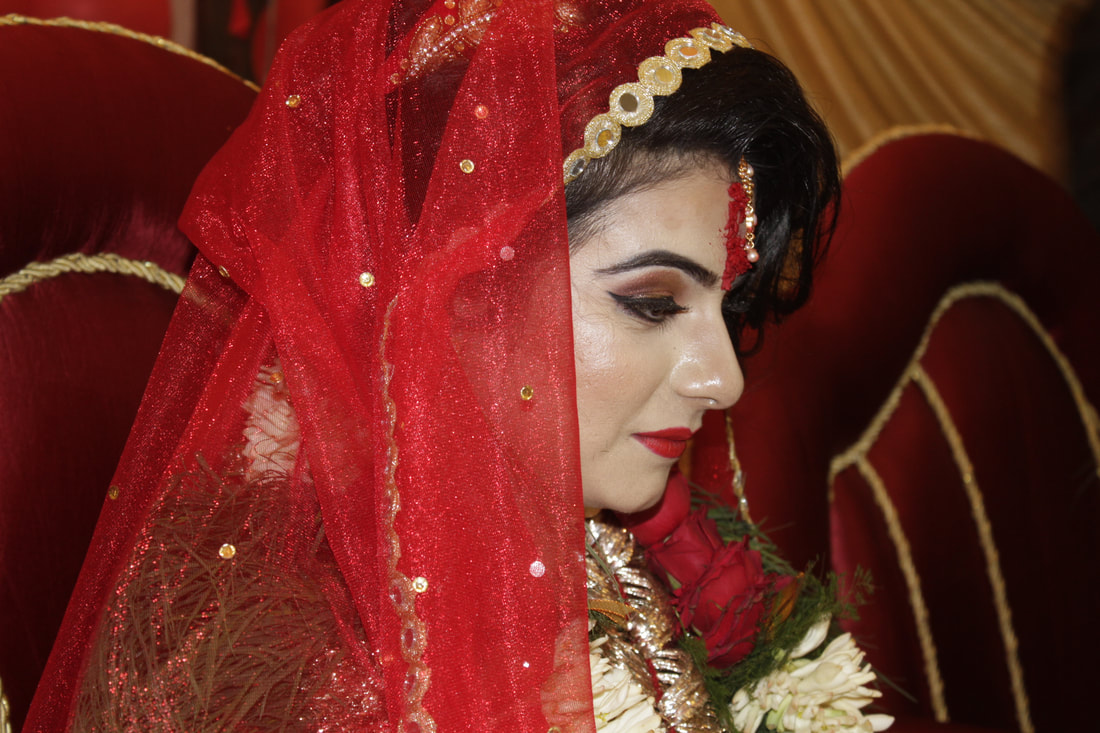
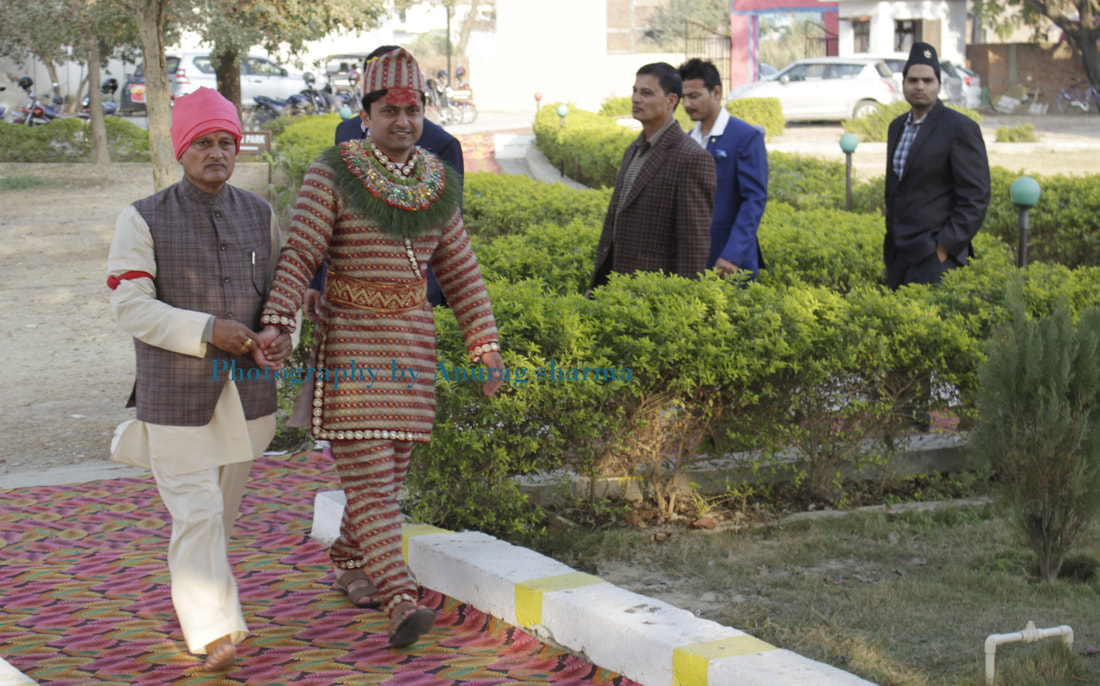
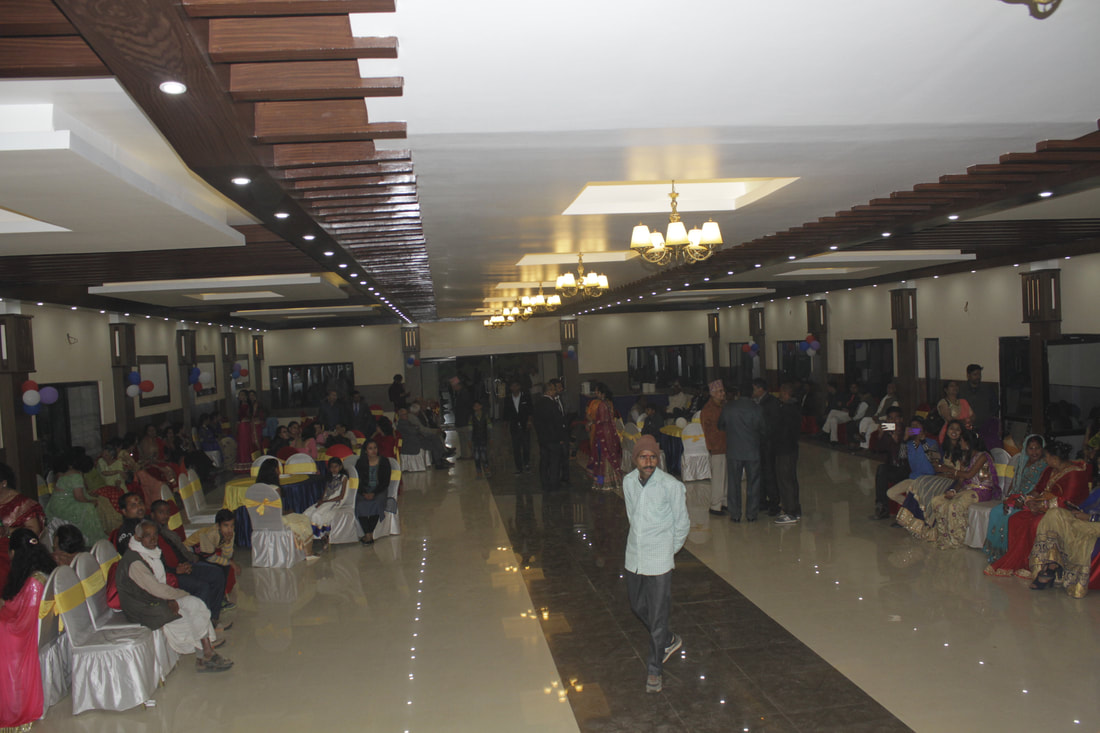
Wedding photography done by Anurag sharma (sample only) |

wedding at hotel pauwa bhairahawa

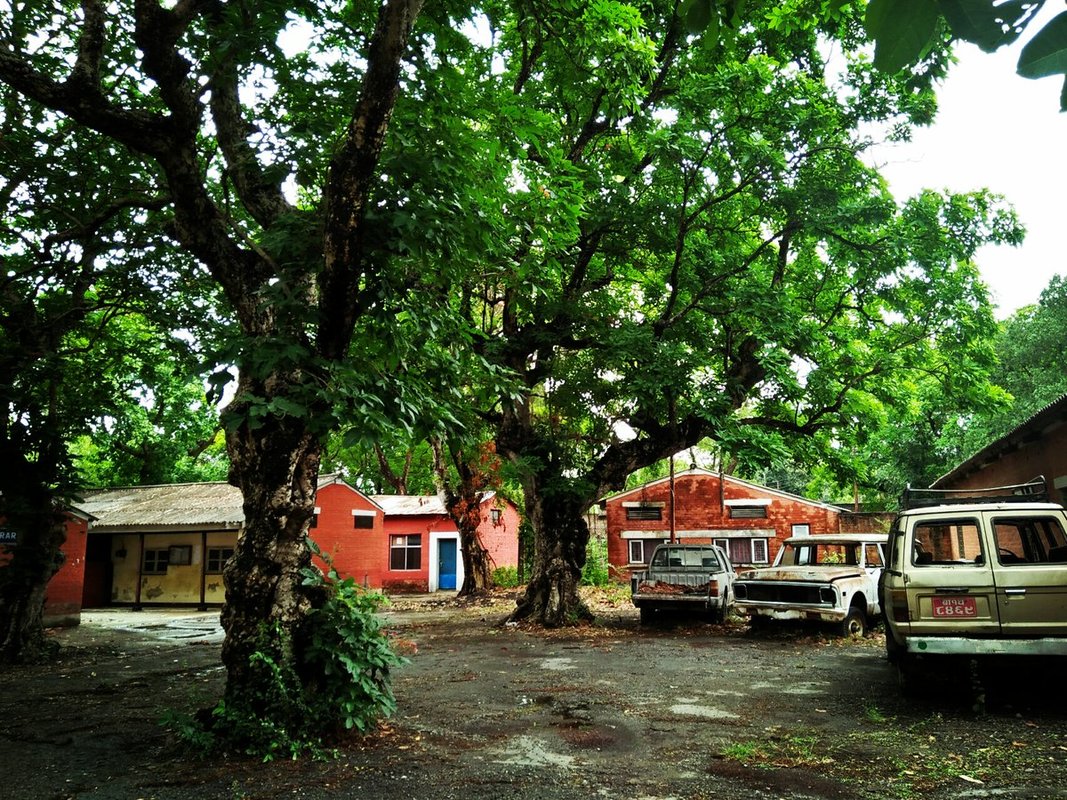
photography at paklihawa bhairahawa
photography at meudihawa,bhairahawa
santosh pandey nepal
|
wedding at hotel pauwa
photography at sunauli
photography at sunauli
wedding at hotel pauwa
|
wedding at hotel pauwa
photography at paklihawa
paklihawa, meudihawa
wedding at hotel pauwa
|
wedding at hotel pauwa
wedding at hotel pauwa
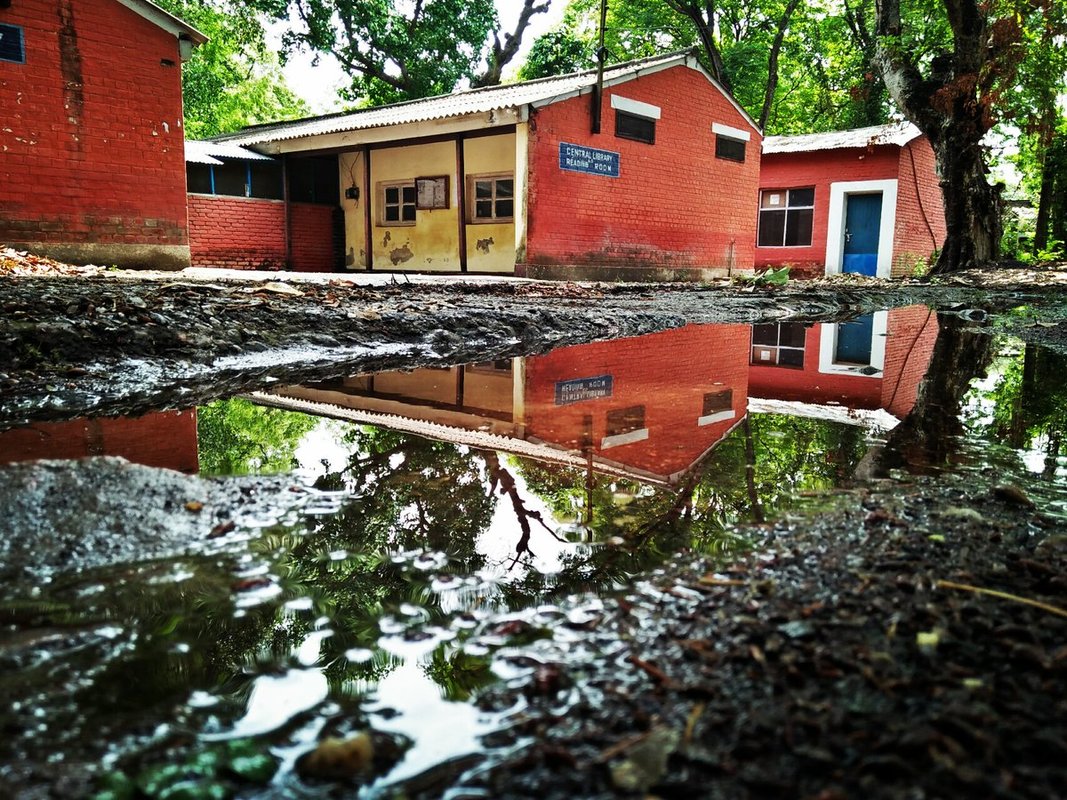
paklihawa campus
meudihawa, paklihawa road
|
